Photos taken over the past couple of days show rapid progress has been made since I just took a couple of key decisions. With these wool coat fabrics, I’ve never had the intention of binding, hemming or facing even with cotton, as any of them would be too clunky, and buttonholing too much of a ‘blanket’ cliche suggesting a connection I didn’t want viewers to focus on, in the same way as if I’d included belt loops, collars, pockets and buttonholes they would have made it clear this fabric had a previous life as a coat or jacket. I didn’t even want it to say ‘this had a previous life’ of any kind at all.
Somewhere along the way I decided to make what appeared to be moth damage as the edge finish for this work.

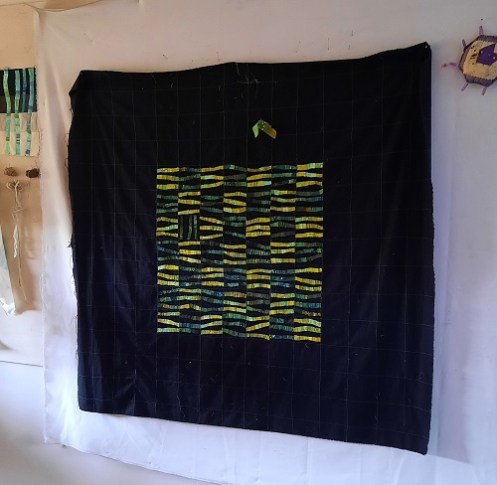
The main question now is whether to put a woolly element at each grid intersection, or to park some in the triangular shapes – and if so, every triangle, the ones sitting base down point up, or some random distribution?


I’ve done enough on this today and it seems a good idea to sleep on it; but whatever I decide to add will need to be placed before I attach the sleeve to the back. I also think I’ll put either some black squares or some knit patches on the back in places, too, to ensure the 60% minimum wool composition on both front and back is beyond question. The minimum perimeter measurement is 300cm, and the work exceeds that comfortably, so that’s OK.